How to create Virtual Machines
Cloud provides a flexible and scalable cloud platform that allows you to deploy virtual machines (VMs) quickly for hosting applications, development, testing, or other workloads.
If you want to create a Virtual Machine using the Advanced Panel, refer to the Advanced Panel documentation.
Follow the steps below to create a Virtual Machine from the Cloud Dashboard.
Step 1: Log in to the Cloud Dashboard
Sign in to your Cloud account using your registered credentials.
Step 2: Open the Virtual Machines Section
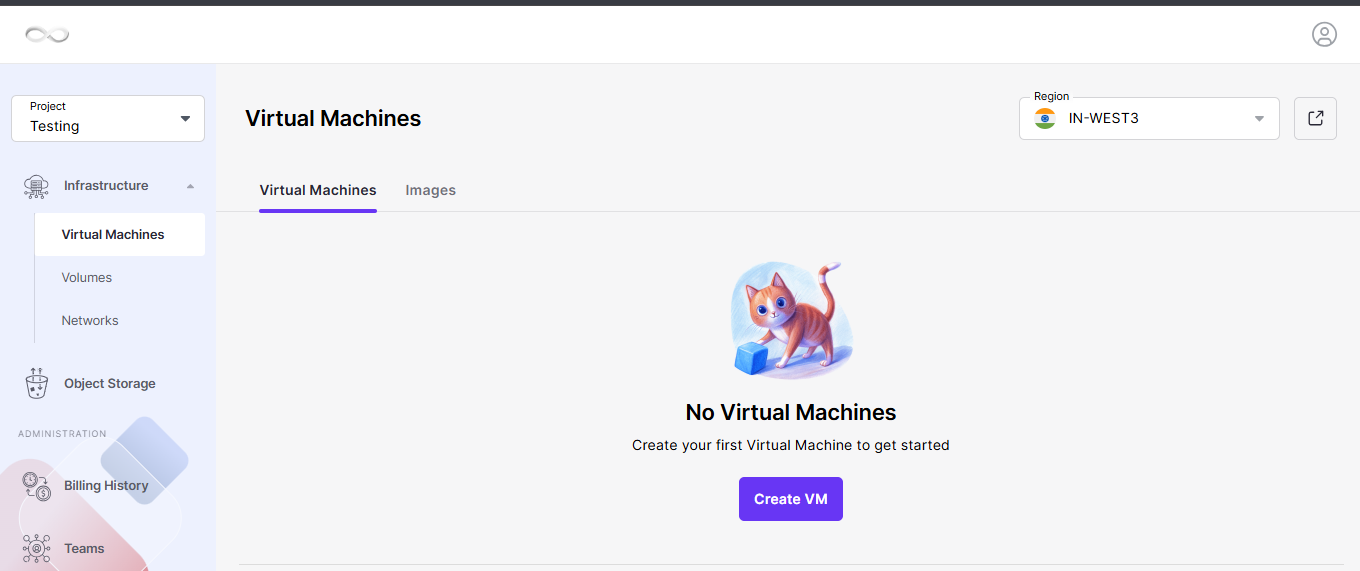
After logging in, navigate to the main dashboard and click Virtual Machines to open the VM management page.
Step 3: Select a Project
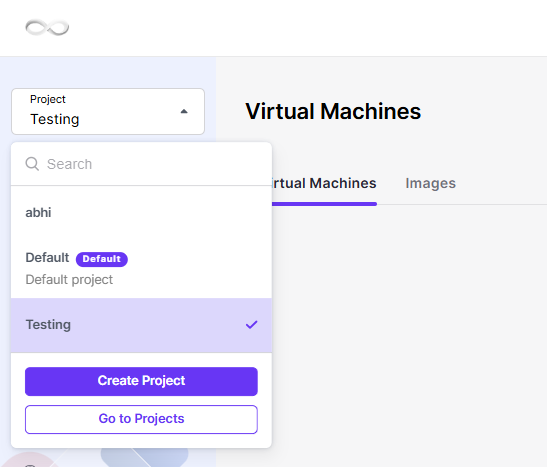
From the Project dropdown menu, choose the project where you want to deploy the new virtual machine.
If you haven’t created a project yet, create one first before proceeding.
Step 4: Choose the Deployment Location
The default deployment region is IN-WEST3, which is automatically selected.
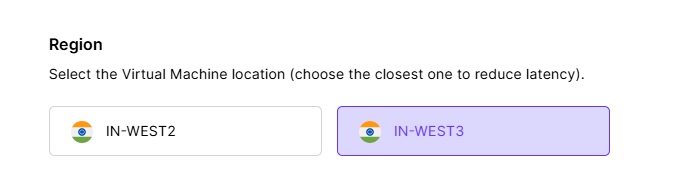
As Cloud expands its infrastructure, additional regions will become available, allowing you to deploy your virtual machines closer to your users or applications.
Step 5: Select the Operating System Image
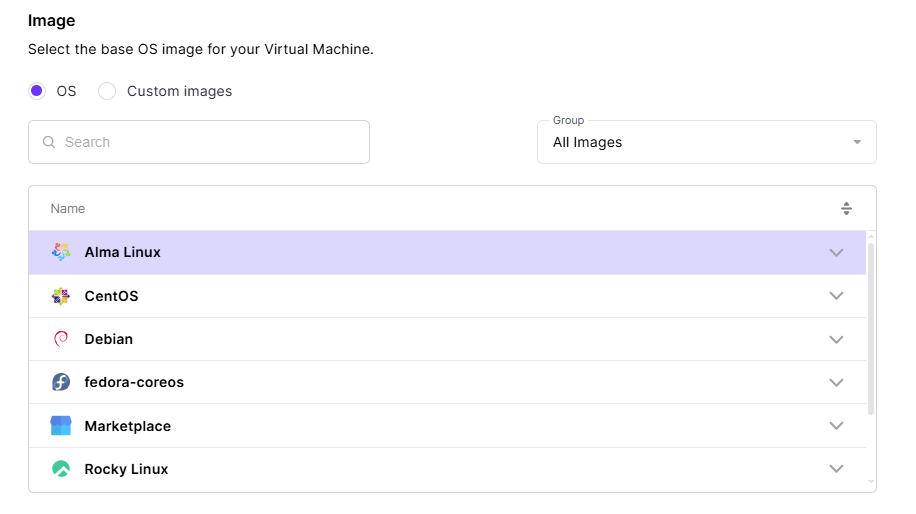
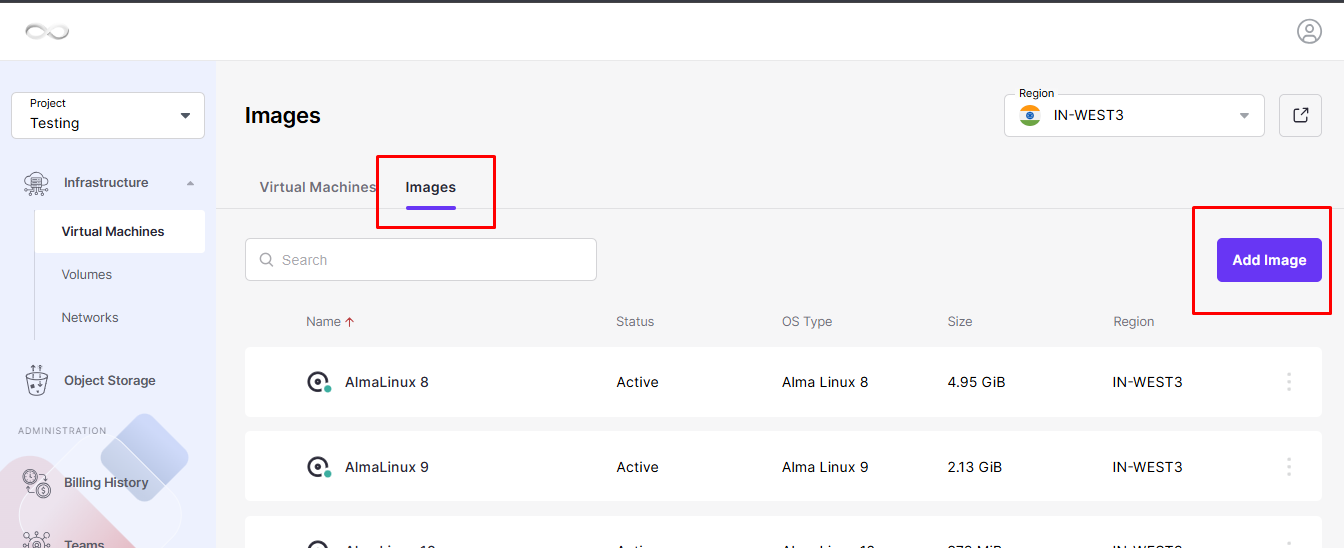
Choose the operating system image that you want to install on your virtual machine from the list of available images.
Supported operating systems include multiple Linux and Windows distributions.
Using a Custom Image
Custom Image: If you want to use your own custom image, you can upload it and create a virtual machine (VM) using that image.

Step 6: Select the Virtual Machine Flavor
Click the Flavor dropdown menu and select the hardware configuration that matches your workload.
Each flavor defines the available:
- General Purpose
- CPU Intensive
- Memory Intensive
- GPU Instances
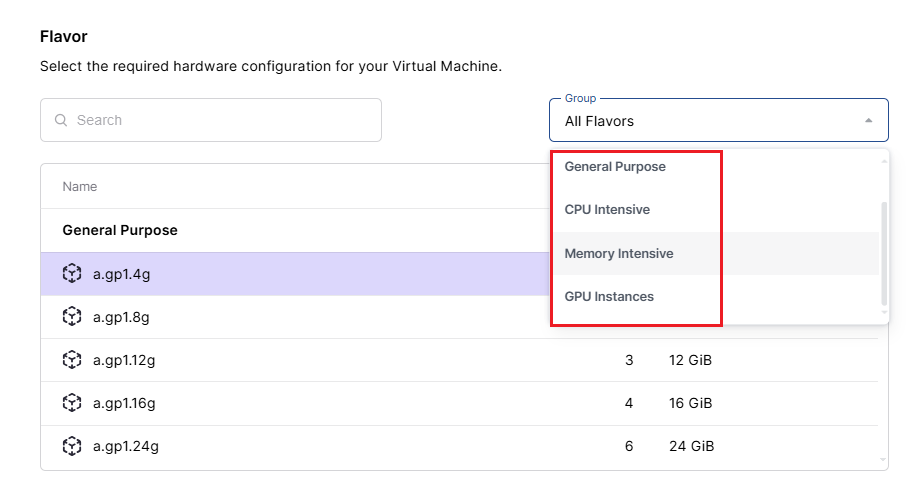
Choose a flavor that satisfies the minimum hardware requirements of the operating system you selected earlier. More demanding operating systems may require additional CPU and memory resources.
Step 7: Configure Storage Volumes
The Volumes section contains the boot disk that will store the operating system and system files.
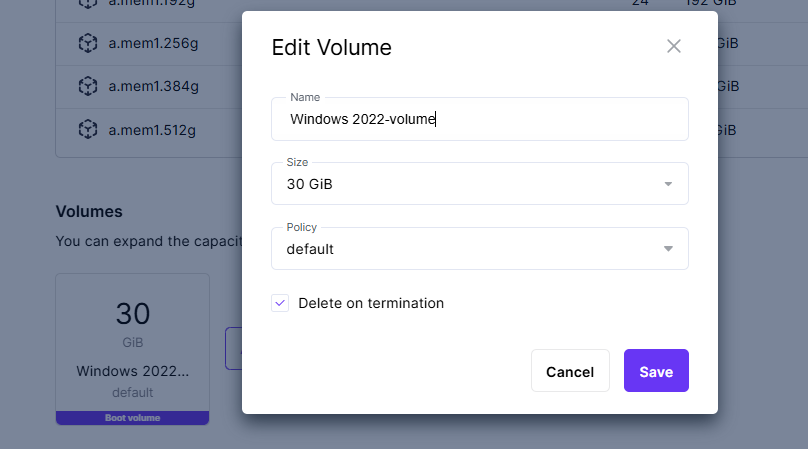
Modify the Boot Volume
Verify that the default boot disk provides enough storage.
If additional capacity is required:
- Click Edit Volume
- Enter the desired disk size
- Click Save
Add Additional Volumes
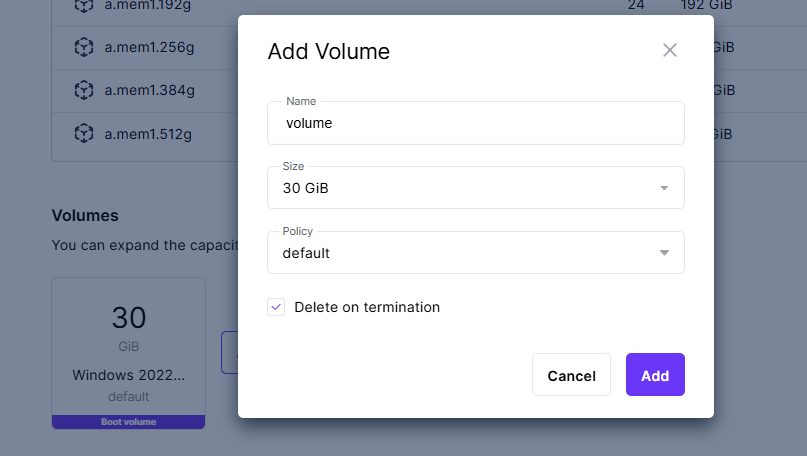
If your workload requires extra storage:
- Click Add Volume
- Specify the required size
- Click Save
- Attach the volume using the available dropdown option
Custom Volume Sizes
If you require a custom-sized disk such as:
- 30 GiB
- 50 GiB
- 100 GiB
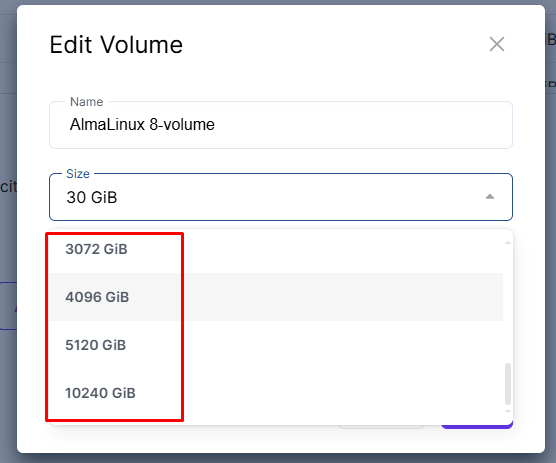
You can first create the volume from the Cloud Advanced Dashboard and attach it while creating the virtual machine.
After deployment, you can resize volumes or attach additional non-boot disks whenever needed.
Step 8: Configure Network Interfaces
Click Add Network Interface and select the network that your virtual machine will use.
Public Network
A public network allows external access to your VM, making it suitable for hosting web servers, APIs, or any services requiring internet connectivity.
To configure a public IP:
- Click Add Network Interface
- Select a Public IP Pool
- Enable Assign Automatically
- Click Add
Cloud can automatically assign either:
- IPv4
- IPv6
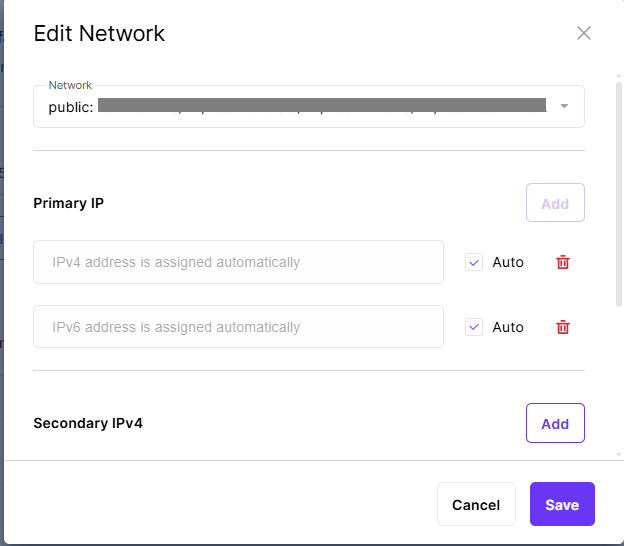
You may also remove assigned addresses using the Delete icon whenever necessary.
Secondary IP Addresses
If your application requires multiple IP addresses, you can add secondary IPv4 or IPv6 addresses.
Unlike the primary IP address, secondary IPs are not automatically configured inside the operating system. You must configure them manually after the virtual machine is deployed.
Security Groups
If the selected network includes IP Address Management (IPAM), the following settings are automatically enabled:
- Spoofing Protection
- Default Security Group
The default security group allows inbound and outbound communication for the virtual machine.
Step 9: Enter the Virtual Machine Name
Provide a unique and meaningful name for the virtual machine.
Using descriptive names makes future management easier, especially when multiple virtual machines are deployed.

Step 10: Configure Advanced Settings
Set the Administrator Password
Create a strong password that will be used to access the virtual machine after deployment.
A secure password should contain:
- Uppercase letters
- Lowercase letters
- Numbers
- Special characters
If preferred, you may skip this step and configure or reset the password later from the Cloud Dashboard.
Configure SSH Authentication
SSH keys provide a secure way to access Linux virtual machines.
You can either:
- Use an existing SSH key pair
- Generate a new SSH key
Generate a New SSH Key:
Select one of the supported algorithms:
Click Generate.
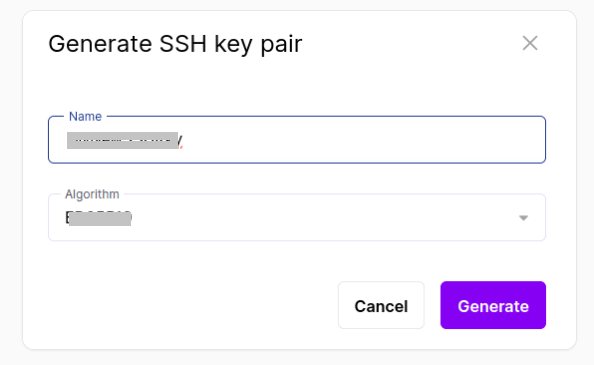
Cloud automatically creates the key pair and downloads the private .pem key file to your computer.
Upload an Existing Public Key
If you already have an SSH key pair, click Add Public SSH Key and paste your existing public key.
This allows secure passwordless authentication when connecting to the virtual machine.
Add a Customization Script (Optional)
Provide user data to customize the VM after launch. User data can be in a YAML-based configuration file or a shell script that runs commands on the VM upon launch.
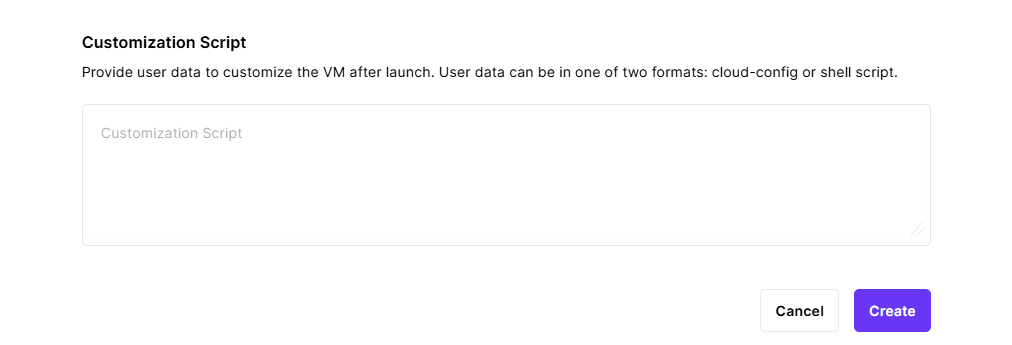
After configuring all of the VM parameters, click on the Create Button to create your Virtual Machine.