Managing Virtual Machine
Step 1: Create a Virtual Machine
Create a new virtual machine by following the instructions provided in the How to Create Virtual Machines guide.
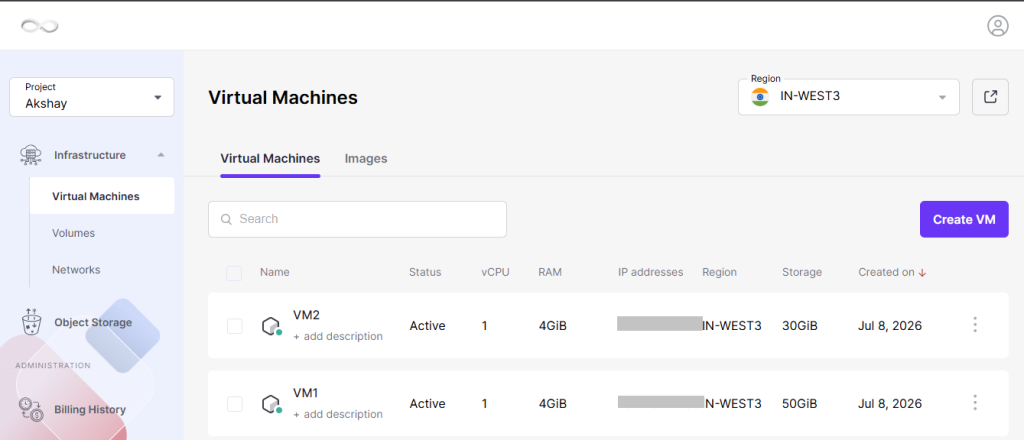
After the deployment is complete, the newly created virtual machine will be displayed in the Virtual Machines list.
Step 2: Open the Virtual Machine Details
From the list of available virtual machines, click on the name of the required VM to open its management and configuration page.
Virtual Machine Overview
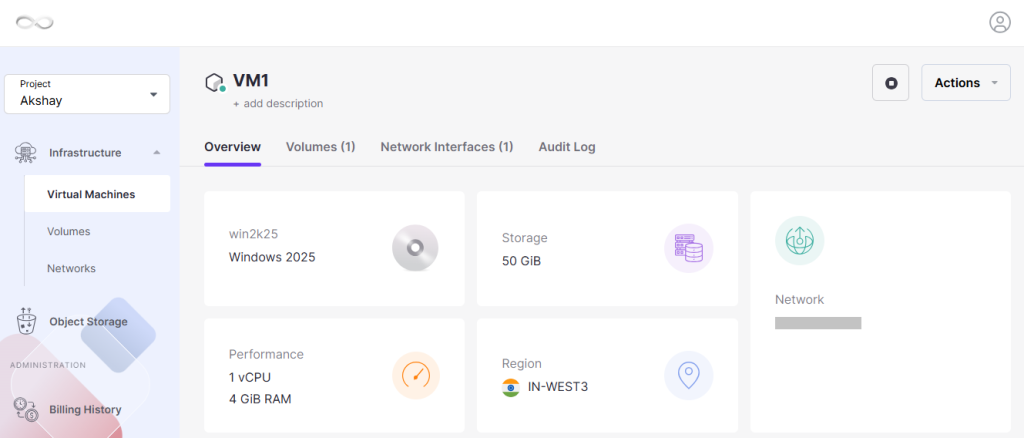
The Overview section provides important information about the selected virtual machine.
Basic Information
Name
Displays the unique name assigned to the virtual machine.
Operating System
Shows the operating system currently installed on the VM.
Resource Configuration
The Resource Allocation section displays the hardware resources assigned to the virtual machine.
vCPU
Shows the number of virtual processors allocated to the VM.
RAM
Displays the total memory assigned to the virtual machine.
Storage
Indicates the total disk capacity available for the VM.
Network Details
The Networking section contains information related to the VM’s network connectivity.
IP Address
Displays the private or public IP address assigned to the virtual machine for network communication.
Region
Shows the data center location where the virtual machine is currently hosted.
VM Management Actions
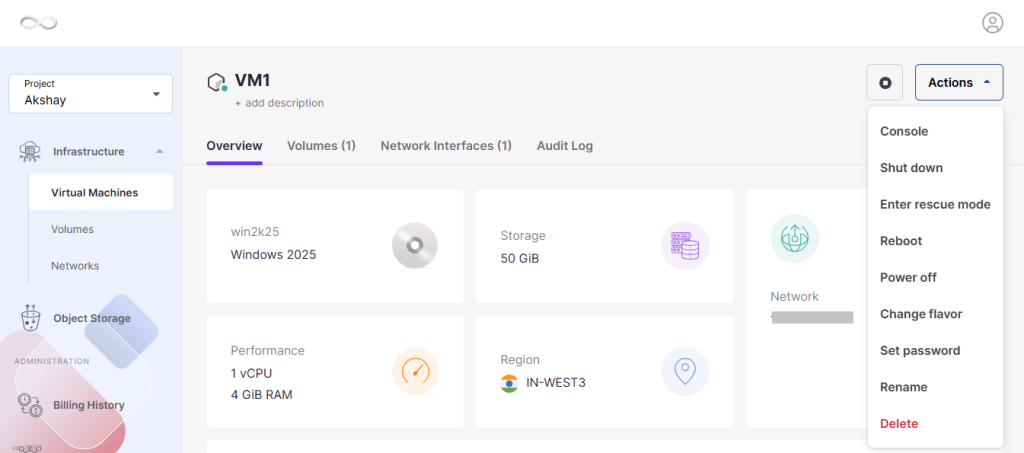
Click the Actions dropdown menu to access the available management options for the virtual machine.
Console
Launch the VM console to directly access and manage the operating system.
Shut Down / Power Off
Gracefully stop the virtual machine and power it off safely.
Reboot
Restart the virtual machine without removing or recreating it.
Change Flavor
Update the VM’s hardware profile by increasing or decreasing resources such as vCPU and RAM.
Set Password
Assign a new login password for accessing the virtual machine.
Rename
Modify the display name of the virtual machine.
Delete
Permanently remove the virtual machine along with all of its associated resources.
Managing Volumes
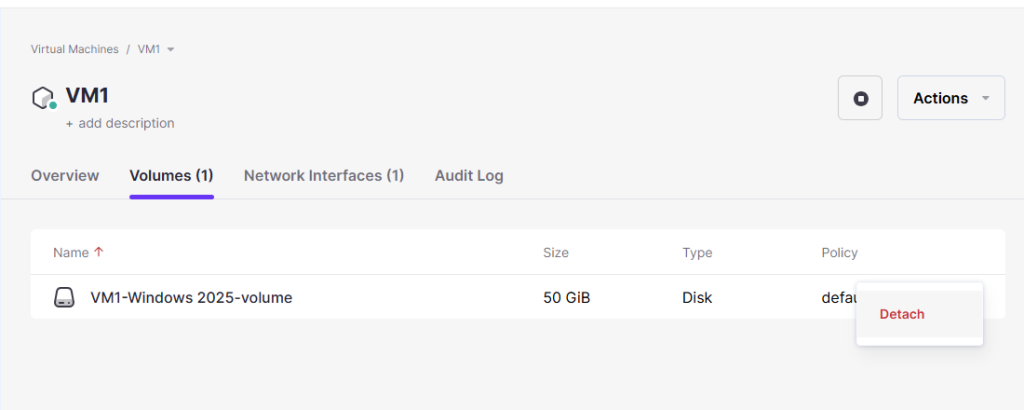
Open the Volumes section to view all storage volumes currently attached to the virtual machine.
If required, you can safely detach an attached volume from the VM.
Network Interface
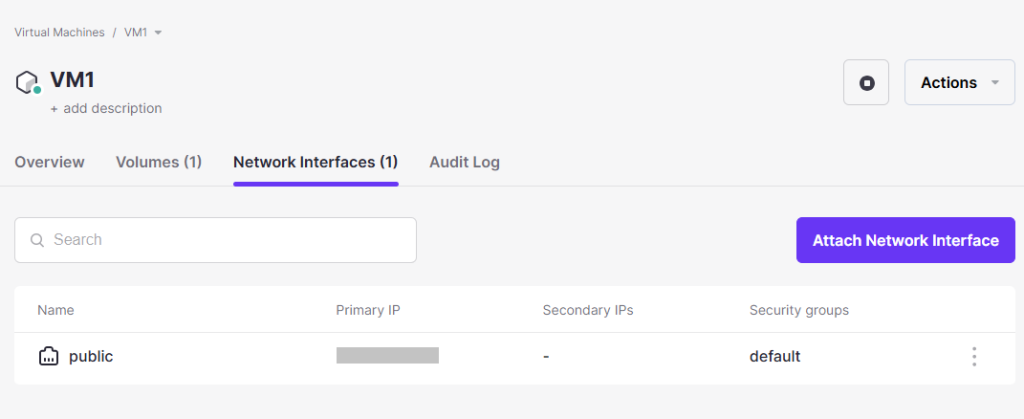
Go to the Network Interface section to review the virtual machine’s networking details.
This section displays the available network interfaces, IP configuration, and connectivity information.
Audit Log
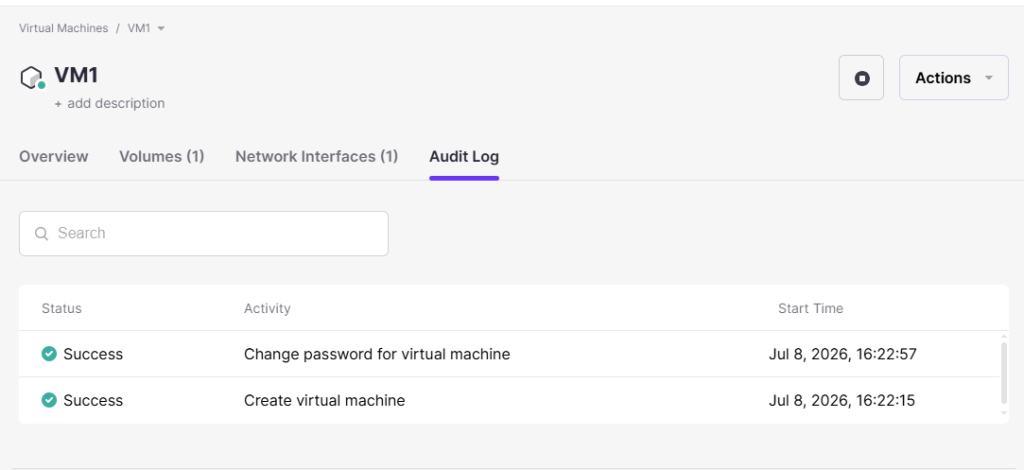
The Audit Log records every activity performed on the virtual machine.
It helps administrators monitor configuration changes, user actions, and system events for troubleshooting and auditing purposes.