Cloud provides a Customization Script option that lets you automatically configure a virtual machine during deployment. Instead of performing manual installation after the VM is created, you can execute a script that installs and configures the required software automatically.
Cloud supports two types of customization scripts:
- Shell Script (.sh)
- Cloud-Init Script (YAML format using #cloud-config)
This guide demonstrates how to use a Cloud-Init configuration to automatically install cPanel & WHM on a new virtual machine.
Important: cPanel must be installed on a clean installation of AlmaLinux or CloudLinux. The server should have a minimum of 2 GB RAM and a valid cPanel license.
Step 1: Verify the Requirements
Before creating the VM, make sure the following requirements are met.
- Deploy a supported operating system such as AlmaLinux or CloudLinux.
- Allocate at least 2 GB RAM.
- Allocate a minimum of 20 GB storage.
- Assign a public IP address to the VM.
- Allow ports 2087 (WHM) and 2083 (cPanel) in the Security Group or Firewall.
- (Optional but recommended) Point a domain or subdomain such as cpanel.example.com to the VM’s public IP for SSL.
Step 2: Prepare the Cloud-Init Script
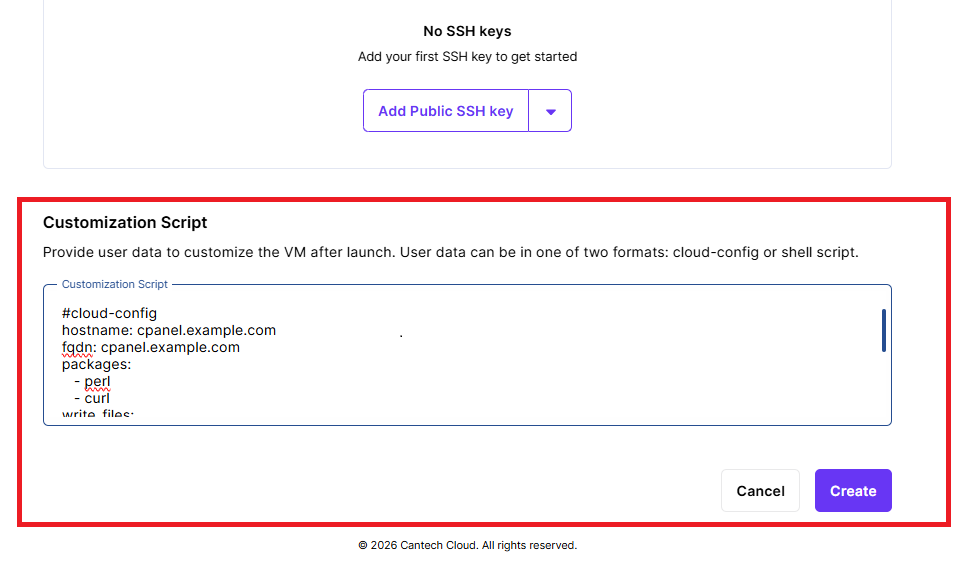
Create the following Cloud-Init configuration and replace the hostname with your own domain.
#cloud-config
hostname: cpanel.example.com
fqdn: cpanel.example.com
packages:
– perl
– curl
write_files:
– path: /etc/resolv.conf
content: |
nameserver 8.8.8.8
nameserver 8.8.4.4
runcmd:
– curl -o latest -L https://securedownloads.cpanel.net/latest
– sh latest
Step 3: Understand What the Script Performs
When the VM starts for the first time, the Cloud-Init script automatically performs the following tasks:
- Sets the server hostname.
- Configures the Fully Qualified Domain Name (FQDN).
- Installs the required packages (Perl and Curl).
- Configures Google Public DNS servers.
- Downloads the latest cPanel installer.
- Starts the cPanel installation automatically.
No manual commands are required after the VM boots.
Step 4: Create a New Virtual Machine
- Sign in to your Cloud Dashboard.
- Click Create VM.
- Select a supported operating system.
- Choose the required CPU, RAM, storage, and network configuration.
- Locate the Customization Script section.
- Select Cloud-Init.
- Paste the Cloud-Init script into the provided text box.
- Review the configuration.
- Click Launch VM.
The VM will now be created with the customization script attached.
Step 5: Automatic Installation Process
After the virtual machine powers on:
- Cloud-Init executes automatically.
- The server installs the required packages.
- DNS configuration is applied.
- The latest cPanel installation package is downloaded.
- cPanel installation begins automatically.
The installation usually completes within 20 to 40 minutes, depending on the server specifications and internet speed.
Step 6: Access WHM
After installation finishes, open your browser and visit:
https://<VM_Public_IP>:2087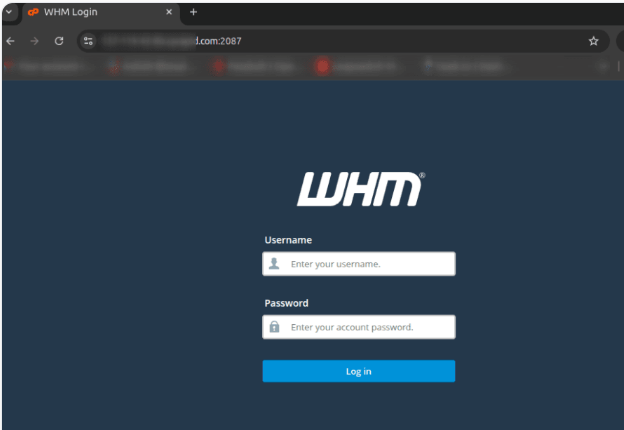
Step 7: Log in to WHM
Use the server’s root credentials.
Login with:
Username: root
Password: your VM’s root password (set during creation)
After authentication, the WHM interface will open.
Step 8: Complete the Initial Configuration
During the first login, WHM will launch its setup wizard.
Complete the following tasks:
- Accept the cPanel License Agreement.
- Verify the server hostname.
- Configure networking settings.
- Configure nameservers.
- Enter your contact email.
- Activate your cPanel license (Trial or Paid).
Once finished, the server is ready for hosting.
Step 9: Begin Using cPanel
After setup is complete, you can:
- Create new cPanel hosting accounts.
- Add websites and domains.
- Configure email services.
- Manage DNS zones.
- Install SSL certificates.
- Upload website files.
- Manage databases.
Troubleshooting Tips
- If DNS resolution fails, verify that /etc/resolv.conf contains valid nameservers.
- If cPanel fails to install, check logs at /var/log/cpanel-install.log.
- Ensure the server has no existing control panel or conflicting services.
Summary
By using a cloud-init cloud-config script in the Cloud VM creation wizard, you can automatically:
- Set system hostname
- Configure DNS
- Install cPanel with a single script
This reduces manual work and ensures consistent deployments.